It’s About Time

Featured

One of the main settings that needs to be tended to in photography is shutter speed. When I first started shooting I didn’t really pay much attention to it because I thought it was a boring setting. I didn’t think that how fast the shutter was open effected anything outside of the lighting. Because of this I always left my camera on auto for the shutter, but I didn’t realize what I was missing out on.

The am learning more everyday about photography and how to have more control over how the pictures come out and turns out a big part of that is the shutter speed.

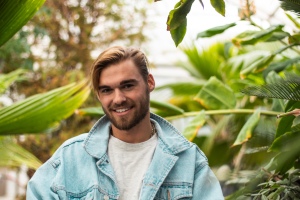
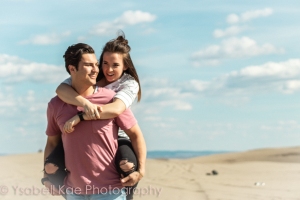
Shutter speed lets you control how motion is expressed in the photo. Whether that is through blur or through freezing movement is up to you.
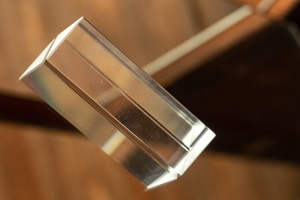
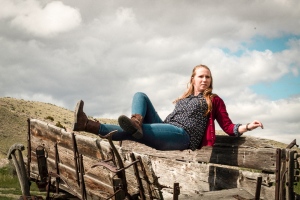
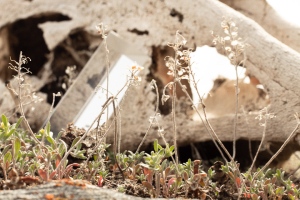
STOP. DON’T MOVE.

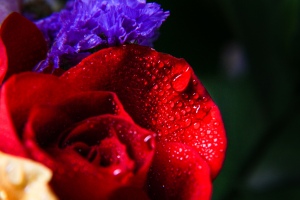
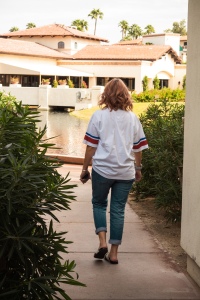
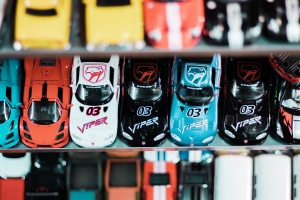
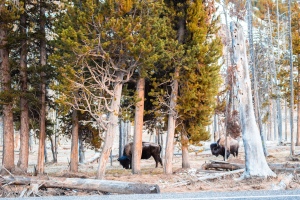
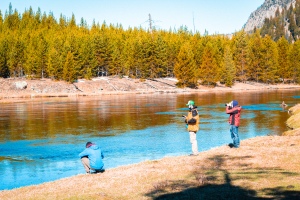
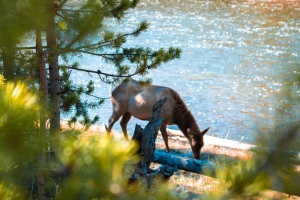
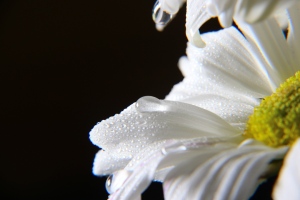
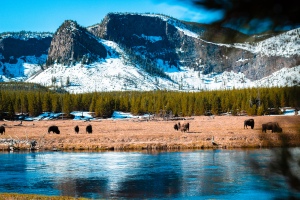
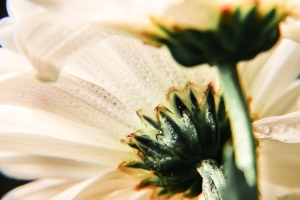
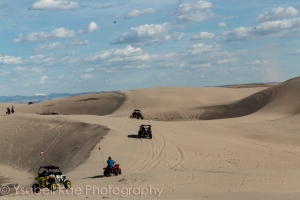
A fast shutter speed is perfect for creating a frozen in time effect. And I know it sounds weird and it seems like every photo would freeze time, but with a fat shutter it is different.

IMG_6559

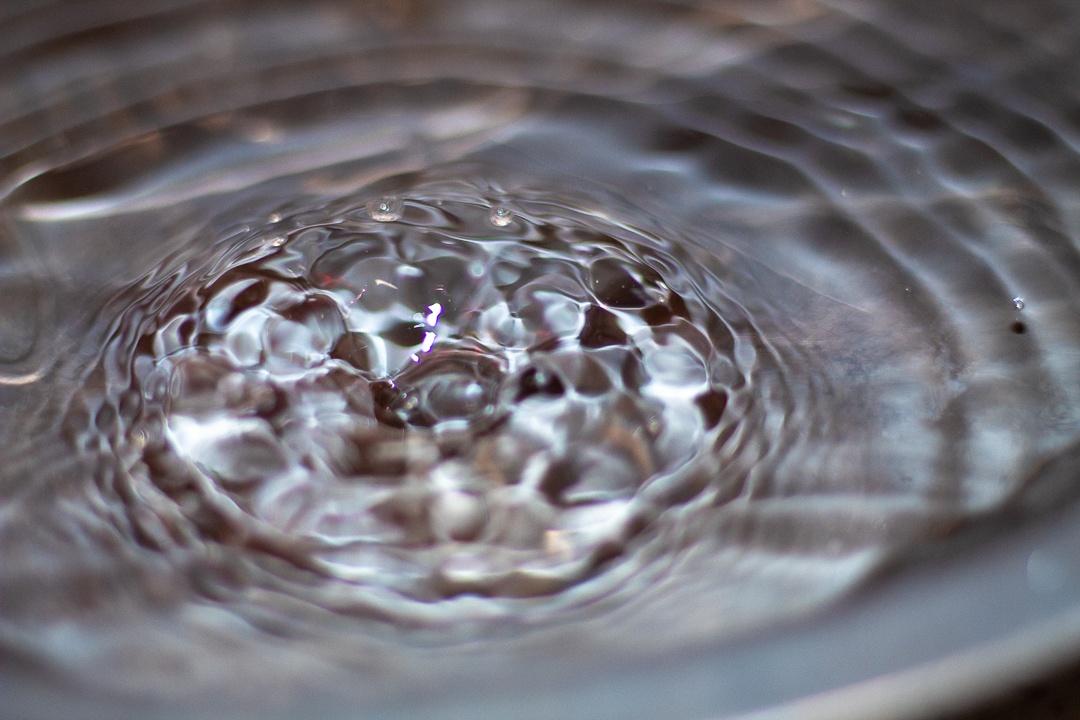
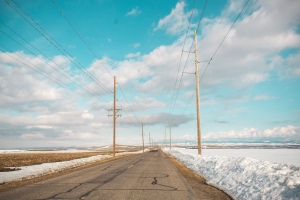
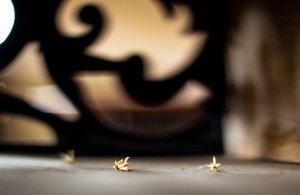
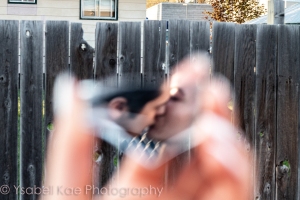
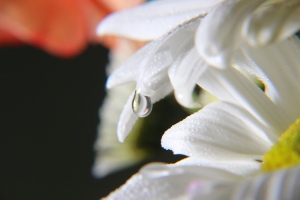
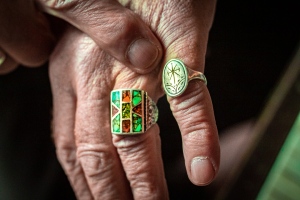
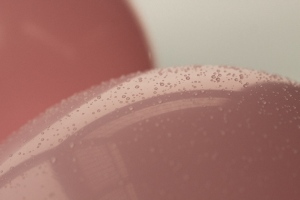
In the photo above for example you can see that the water is moving but there isn’t any motion blur. I used a 1/4000 shutter speed which is the highest my camera will go so I could get clear shot, because the shutter was at the fastest speed there want a lot of time for light to get to the sensor so I had to add my own light.

IMG_6462

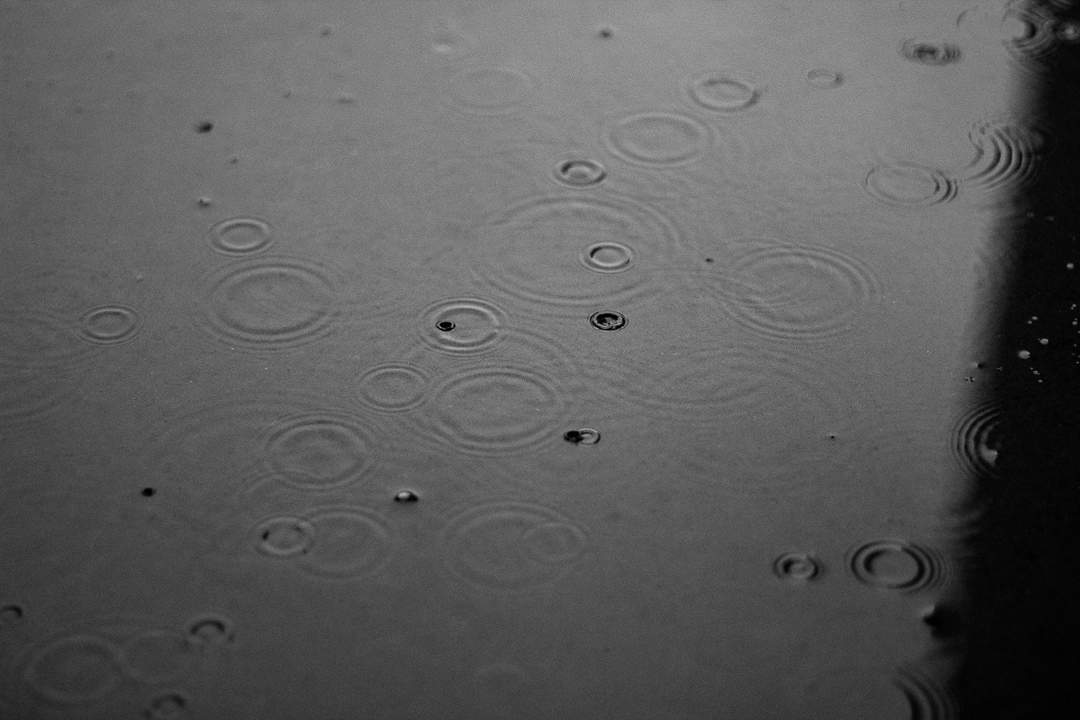
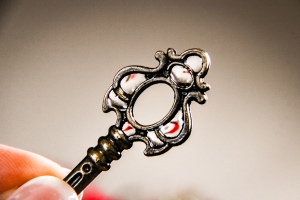
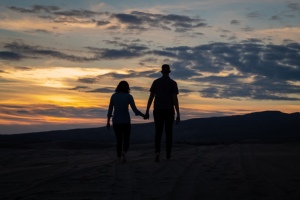
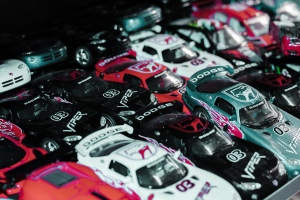
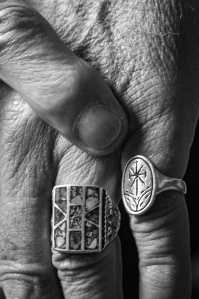
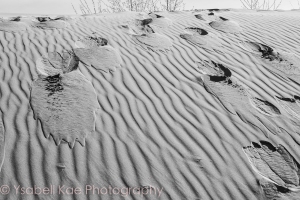
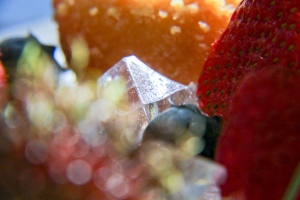
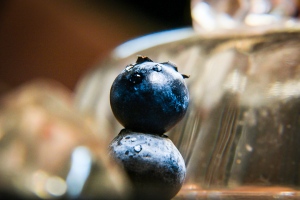
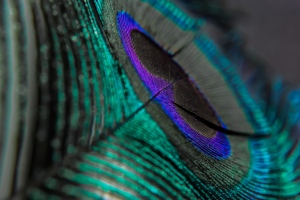
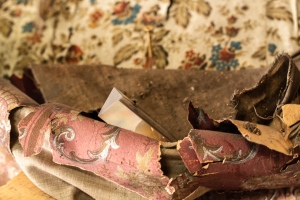
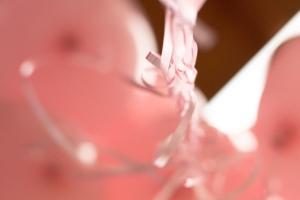
I also used a 1/4000 shutter speed for this shot of a puddle that was full of rings from the rain.
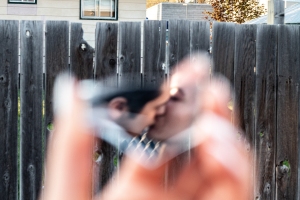
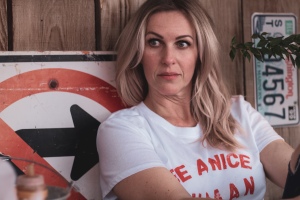
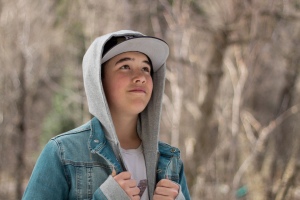
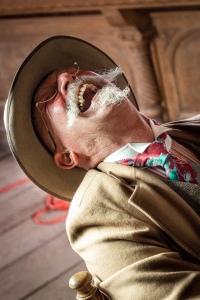
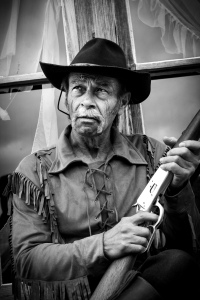
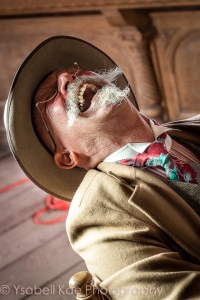
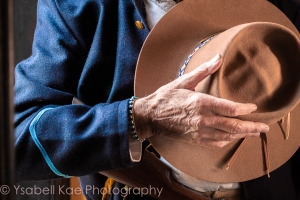
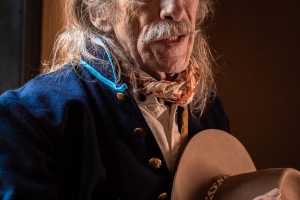
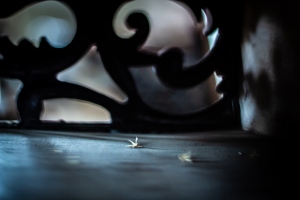
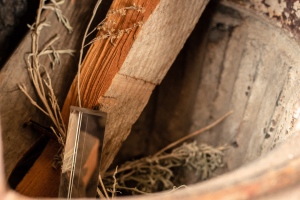
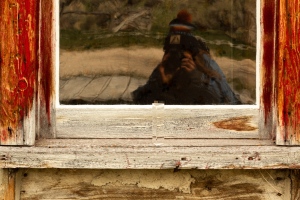
Blurry Face.

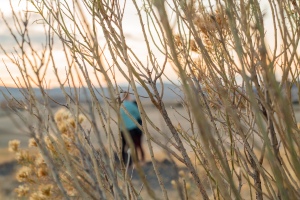
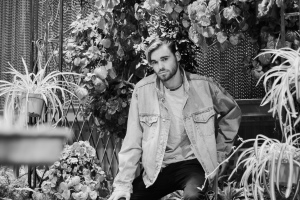
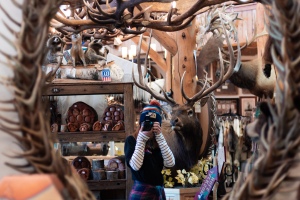
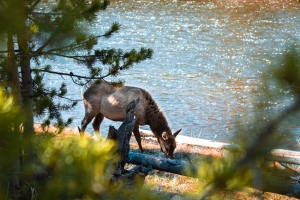
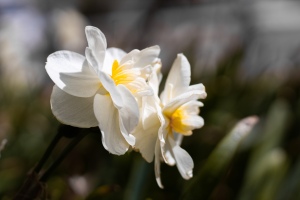
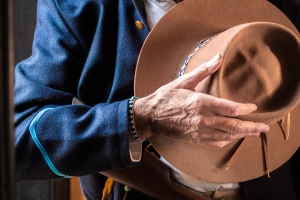
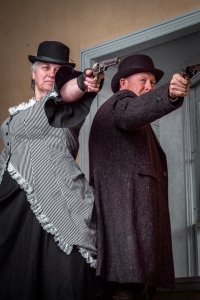
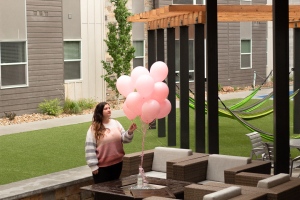
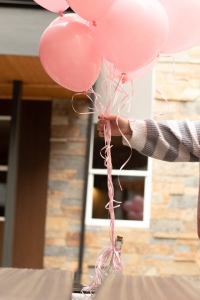
On the other side of the spectrum if you use a long shutter speed you can add moment through blurs in the photos.

IMG_6599

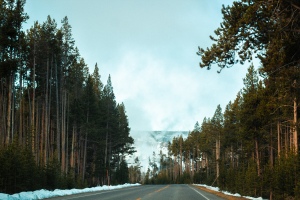
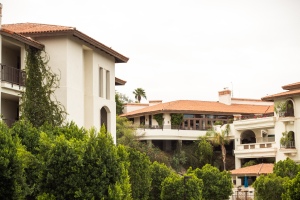
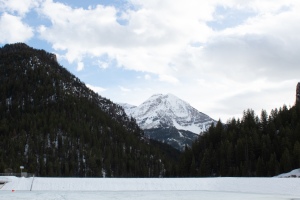
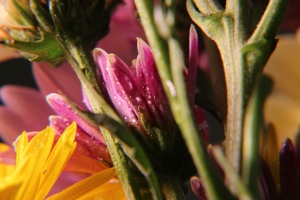
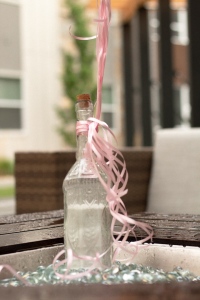
For the picture above I used a 1/8 shutter speed so I could get the moment in the outside branches. Because it is such a slow shutter I set up my camera on a tripod to minimize blur, to add even more stability you can use a remote to click the shutter without touching the camera, but I don’t currently have a remote for my camera.

IMG_6395

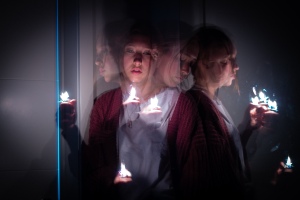
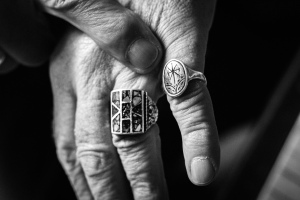
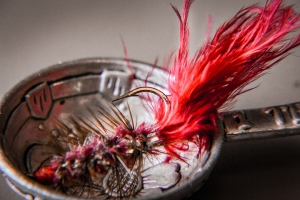
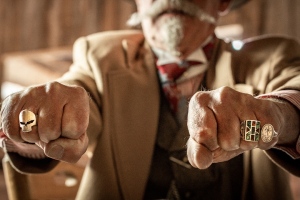
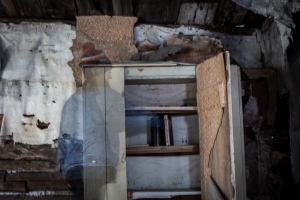
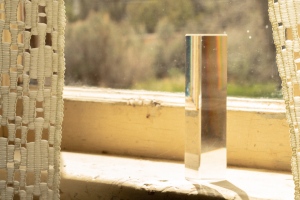
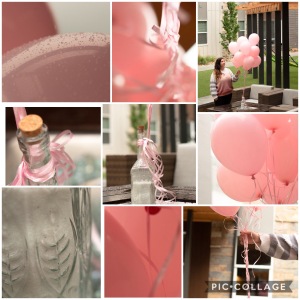
This picture is easily my favorite. This was my first really long exposure shot because I finally got a tripod. The shutter speed was  30″ meaning the shutter was open for 30 seconds. The room was pitch black so I didn’t know how any of the shots would come out, but that was part of the fun. I set up the camera then hoped over the where it was aimed and would move around flipping a lighter on and off to catch different moments of the movements all in the same shot.

There is so much that can be done with the shutter besides just controlling the lighting and I am exited to keep exploring that!

By the Book

Creating this book felt like an emotional rollercoaster with equal parts stress induced breakdowns and absolute fascinated excitement. I loved getting to know the software better and learning new ways to manipulate indesign to create what I imagined.

I restarted about 5 times and had a lot of frustrated moments, but it felt like every time I got frustrated because I didn’t know how to do something it motivated me to learn more and watch more tutorials. When it was all done I got so excited to see the finished product and to have a physical copy of some of my favorite photos.


My First Fine Art Print!

This week I finalized the edits on my first large print. Below are the before and after:

As you can see they are pretty dramatically different. I sharpened a lot of the photo to make sure it will print well even though print always print blurrier. Because pictures will also print darker I lightened the picture and added drama using dodge and burn on select parts od the photo like the jacket, the face and the curtains.

My Fav Five

I love this macro shot, I like all the black negative space and that it adds contrast to the super light petals.

In love with the blue and orange filtering on this. This landscape shows of the mountains, the trees, the bison, and the river with a little blurred peek at the trees on this side of the river as well.

LOL. You can hear his laugh in this picture and I like to think it makes people try to guess what he’s laughing about. This model was an absolute blast to work with and such a funny guy, I am glad I got to show his personality in this shot.

There are a lot of signs around Yellowstone saying not to get close to the wild life, and since I don’t have a zoom lens this made it really difficult to get good pics of the wildlife. I got lucky that I came around a corner to find this beaut and that she didn’t attack me or have any friends near by that wanted to fight. Stay safe kids.

This picture reads very serious to me. I feel like the face being cropped out really leaves the story to be picked by the viewer.

Take a Closer Look

Getting up close and taking these shots was such a weird and cool experience. I got to use a different kind of lens than I normally do and the new perspective it opened was so much fun! Getting so close that it completely changes the perspective and the feel of the image.

Getting the pictures of the water droplets above took more planning that I expected. I had to keep adding spritzes of water and dropping new droplets on to add the different sizes.

I tried to get some different angles by shooting the stems of the flowers and by making a little face on the blueberries with the water droplets. It’s amazing how different every shot is when you are getting that close to the subject.

I was really pleased with the image of the key, mainly because of the reflection of red I got in the water. I had one hand holding the camera and one holding the key to position it in the right place to have those red highlights. This made it really tricky to focus the camera and a lot of it had to be done with physically moving my body

Cowboiz

Couples that fight together kick butt together right? It was so fun to pose this couple with the pistoles and creating a storing and bringing a sense of place and time to the photo.

This laughing cowboy was so fun to work with. Capturing his head thrown back laugh was great, I felt like it drew me into the picture and when I look at the shot I can still hear him laughing.

There is a story behind each of these rings, I loved getting a shot that focused on the rings but showed him in that background.

Standing next to the window, under a gloomy sky, these shots that cut off at the face or eyes and focus on the hat being held of the mouth telling story’s from a life well lived.

I wanted to break the rules a little with this shot. I broke away from the normal cropping to focus on the guns because I felt they tell the real story here.

New Editing Trix & Ideas

On my trip to Bannack Ghost town in Montana I had the chance to practice some new techniques for editing as well as conceptual work.

For this picture I did a long exposure in a dark room and stood in the picture for part of the shot and had a light flash on me to help create the ghostly and translucent appearance.

This picture of the rings was conceptual. I loved hearing the stories behind the rings and the way this picture highlights the jewelry and you can almost hear the owner telling the stories behind them.

This levitation shot was by far the most complicated. I used multiple pictures layered and masked and had to touch up the clarity and smoothness over several spots in the shot but it was fun to see the finished shot.

Doing a mock add shot was also a ton of fun. Looking for ways to highlight the product and using the gaps in the walls to hold to glasses for the shot was a unique and fun picture to capture.

Getting an abstract angle looking into the desks and getting upclose and personal with the old wood and the tiny flowers that had found their way there and dried up was crazy. I wish I had a macro lens to better capture it but still happy with how it turned out!

Through the Looking Glass

This week I went on a day trip with my photography class to a ghost town in Bannack Montana. This is a, now empty, mining town full of rundown buildings that are full of dust and untold stories.

I am fascinated by the idea of walking through the skeleton of a building that used to be someones home. I see marks on the walls and wonder if they are from normal wear and tear or if they are from the last person to live there.

Theres years of stories in those building and most of them will go untold and unremembered, but as I can imagine and guess what it was like as I silently creep through the now empty and dust covered structures.

I chose the crystal as the focus of  these photos because every angle you look at the crystal from has a different reflection similar to how every detail you notice in these buildings tells a different story.

Some of the houses like the two above where staged with furniture to show what it may have looked like back when the home was in use. A fire place has wood and kindling ready to burn to warm the home and prepare meals, lace curtains filter out some of the hot summer light.

I caught my reflection crouching to get another angle and to change the perspective of the shot, the crystal is barley visible and the red paint has peeled away significantly but still leaves it’s mark. An animal skull is forgotten among the among the weeds growing along the side of this building.

Inside the homes is an endless variety of torn wallpapers and broken glass. I peeled back layers of wallpaper going back in time through the changes color and pattern tastes of the previous occupants.

pink Pink PINK

I knew going into this that I wanted the pictures to have one main color as the focus. I decided to go with balloons and a soft pink so I could tweak the other colors to have that same warm slightly pink tone.

Getting a closer look on these two pictures above was really fun and an interesting perspective. Even though it is such an up close perspective you can still tell what it is and looking at the pictures I can almost smell the unique balloon scent that reminds me off childhood birthdays.

To go along with the balloons I tied them to a glass bottle full of white sand. I picked this to keep the colors other than the pink neutral.

I edited them all almost exactly the same so they would all have the same shade of pink and they would all look even more cohesive.

I loved getting pictures that showed the details on the bottle and the texture in the sand.

I made my roomate dress to match the balloons so it would create even another element of that same pink color.

All  in all it was a fun practice and I can’t wait to plan more shoots like this!

Crystal Clear

APERTURE

One of the number one reasons you want to learn how to change the settings on a camera is to control the focus. Aperture is how you control how much is in focus.

To practice using aperture I when out to shoot using prio aperture setting on the DSLR. I kept my ISO at 200 and let the camera take care of the shutter speed while I changed the aperture or in other words I controlled how much the shutter opened.

The size of the opening can either keep the whole background in focus, just the subject in focus or anywhere in-between. The way it was explained to me is that it is like a water hose. If the hole is really small it will shoot really far (a photo that has a deep field of focus). If the hose has a large opening the water will just drop out and not go very far (focus is only on the subject).


Small Aperture

To begin used a small aperture. I was out at the sand dunes and wanted to take advantage of the beautiful background. While I was out there a line or dune buggies drove by and I was glad I had an aperture that would keep a deep field of focus so I could have all of the little rovers in focus.

Later taking a picture of a couple out at the sand dunes I used a small aperture so I could get their footprints in the shot and so the background didn’t just become a brown blur.

Wide Aperture 

When using a wide numbered aperture you get a beautiful bokeh effect. This is when you get that nice smooth blur in the background and just the focus is sharp.

The first photo was of a statue that had a few light fixtures hanging behind it. If there had been a small aperture the light fixtures would have made the image look confusing and messy especially since they are the same color and texture as the focus.

For the second Image there is bokeh behind and in front of the focus. The wide aperture keeps the bowl in focus but the fabric in front is blurred and kept from being a distraction.

Another note with aperture:

LIGHTING

a wider aperture will need less light and a smaller aperture will need more. This can be controlled using lighting, shutter speed, and ISO.